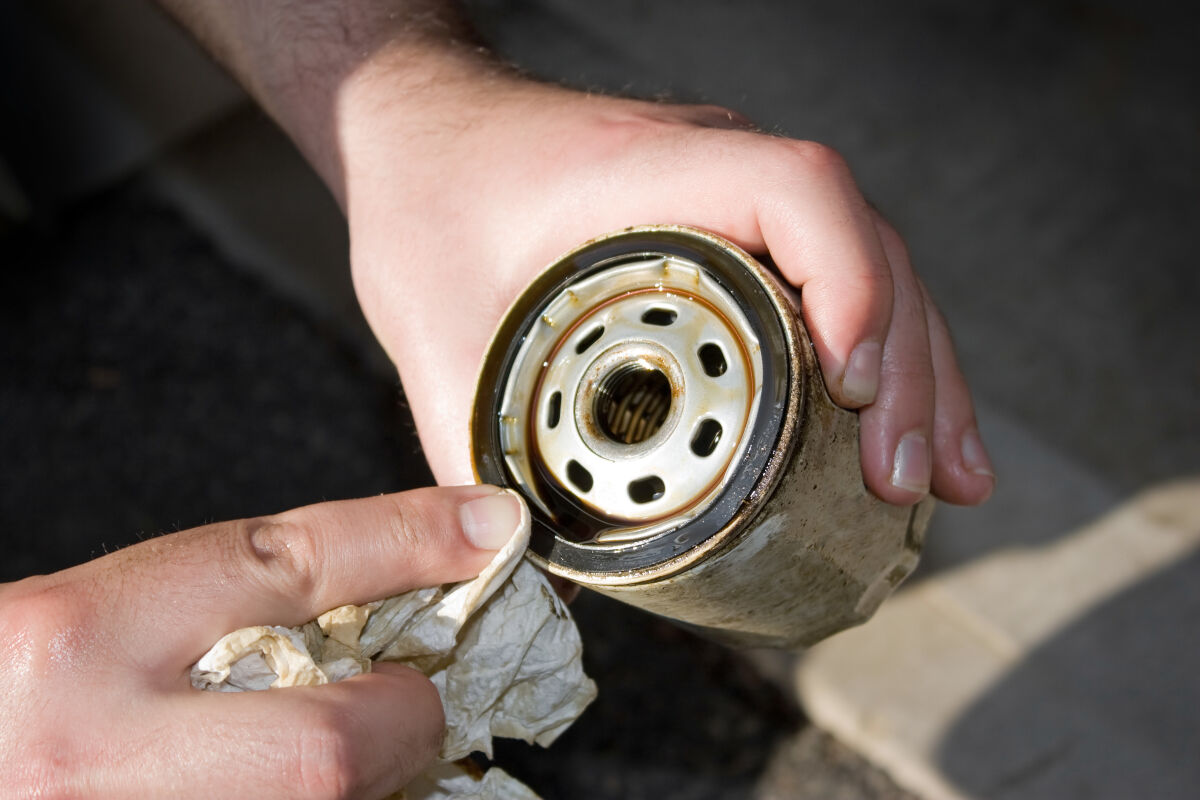
Performing an oil change is a regular maintenance item for most car owners. The oil and filter need to be changed every 3,000 miles or so to keep the engine running properly. Many people think that they need a wrench to remove the old oil filter, but this is not the case.
With a little know-how, you can easily remove the old filter without any special tools.
- Remove the oil drain plug from the bottom of the engine with a socket wrench and let the oil drain into a catch pan
- Unscrew the old oil filter from the top of the engine using an oil filter wrench or a pair of pliers, being careful not to spill any oil on yourself or your car
- Coat the rubber gasket on the new filter with clean motor oil and screw it onto the engine, again being careful not to over-tighten or spill any oil
- Replace the oil drain plug at the bottom of the engine and tighten it with a socket wrench until it is snug but not too tight
- Fill up your car’s engine with fresh motor oil through the dipstick tube until it reaches between the “full” and “add” lines on the dipstick, then close up your hood and you’re done!
How to Remove Toyota Oil Filter Without Wrench
If you own a Toyota, you know that changing your oil regularly is important to keep your car running smoothly. But what if you don’t have a wrench to remove the oil filter? Don’t worry – there’s an easy way to do it without one.
Here’s what you’ll need:
– A pair of pliers
– A rag or paper towel
– A new oil filter (the same size as the one being removed)
– New oil (enough to fill the engine after the old oil has been drained)
– An oil catch basin or similar container to catch the old oil
First, locate the oil filter on your engine. It will be a round, metal canister with a black rubber gasket on one end. On the other end, there will be a metal cap with either a hexagonal shape (for use with a wrench) or a wingnut shape (no wrench needed).
If the cap is hexagonal, skip ahead to Step 4.
If the cap is wingnut shaped, grab hold of it with your pliers and turn it counterclockwise until it comes loose. Be careful not to over tighten and strip the threads.
Once loose, pull the cap and gasket off of the filter housing. The used filter will now be exposed.
Next, place your rag or paper towel under thefilter housing to catch any drips of old oil.
Use your pliers to twistthe used filtercounterclockwise until it comes loose from its housing. Some filters may benotchedon their side so you can use these indents for gripping purposes withyourpliers – just be careful not toreally diginto them as this could cause damage thatwill make removal more difficult later on downthe line whenyou attemptto put ina newfilter .Once completely unscrewed ,pulltheusedfilteroutanddiscarditproperly . Make suretoavoidtouchingthenewfilterwithyourbare handsasoil fromyour skincould contaminateit .
Now takeyournewfilterand applya film of fresh oiltotheblackgasketon oneside . This will help createa better seal whenyou screwitback into place . Screw thenewfilter intothehousingbyturningit clockwiseslowly andtightly byhand –again , beingcarefulto notoverdoittois avoidstrippinganythreads .
Homemade Oil Filter Wrench
If you’re a do-it-yourselfer, you know that one of the most important maintenance tasks for your car is to regularly change the oil. And while you can save money by doing it yourself, you still need the right tools to get the job done. One tool you’ll need is an oil filter wrench.
There are many different types and designs of oil filter wrenches on the market, but if you want to save some money, you can easily make your own at home with just a few simple materials. Here’s how: First, gather together a piece of sturdy cardboard, a sharp utility knife, and some duct tape.
Cut a circular piece out of the cardboard that’s slightly larger than the diameter of your car’s oil filter. Then use the utility knife to cut slits around the circumference of the circle, being careful not to cut all the way through. Next, place the cardboard template over your oil filter and secure it in place with duct tape.
Finally, take a ratchet or socket wrench and fit it onto one of the slits in the cardboard template. Turn counterclockwise to loosen and remove the old oil filter. That’s all there is to it!
With this simple homemade tool, changing your own oil will be quick and easy – and much cheaper than taking it to a professional shop.
Autozone Oil Filter Wrench
You can save time and money by performing basic maintenance on your car yourself. One of the most important things you can do is to change your oil regularly. But this can be a messy job, so it’s important to have the right tools.
The AutoZone oil filter wrench makes oil changes quick and easy.
This handy tool fits most domestic and import vehicles with spin-on type oil filters. It has a 3/8″ square drive for use with a ratchet or impact wrench, and it also has a 1/2″ hex drive for use with a socket or wrench.
The large, comfortable handle provides good leverage, so you can easily remove even stubborn filters.
When changing your oil, be sure to also check your filter and replace it if necessary. A clogged filter can cause all sorts of problems, including decreased fuel economy and engine damage.
So make sure to keep your car in tip-top shape by using the AutoZone oil filter wrench!
Best Oil Filter Removal Tool
As anyone who has ever changed their own oil knows, removing the oil filter can be a bit of a challenge. If you don’t have the right tools, it can be downright impossible. But with the right oil filter removal tool, it’s a breeze.
There are several different types of oil filter removal tools on the market, but our favorite is the Lisle 63600 Oil Filter Wrench. This heavy-duty wrench is made from durable steel and is designed to fit most spin-on type oil filters (including those used on most cars and trucks). It has a comfortable grip and an extra-long handle for added leverage, making it easy to remove even stubborn filters.
If you’re looking for an affordable and easy-to-use oil filter removal tool, the Lisle 63600 is the way to go.
Oil Filter Chain Wrench
An oil filter chain wrench is a handy tool that can make changing your oil filter quick and easy. This type of wrench is designed to fit around the circumference of the oil filter, providing ample leverage to loosen and remove it. Many models also feature a built-in ratcheting mechanism, so you can simply rotate the handle back and forth to loosen or tighten the filter without having to remove the wrench completely.
If you’re looking for an oil filter chain wrench that will make changing your oil filter a breeze, be sure to check out the selection available at your local auto parts store or online retailer. With so many different sizes and styles available, you’re sure to find one that’s perfect for your needs.
How to Remove Tundra Oil Filter Without Tool
If you own a Toyota Tundra, then you know that keeping up with regular maintenance is important to keep your truck running properly. Part of regular maintenance includes changing your oil and filter, and while this may seem like a daunting task, it’s actually quite easy to do yourself. The most difficult part is removing the old oil filter, but with a few simple tips, you can have it off in no time.
First, make sure that your Tundra is parked on level ground and turn off the engine. Then, locate the oil filter housing on the driver’s side of the engine bay. You’ll see a large black cap with two metal tabs sticking out – this is what you need to remove.
To remove the cap, simply twist it counterclockwise until it comes loose. Once the cap is off, you’ll be able to see the oil filter inside. Before you remove the filter, though, place a drain pan underneath it to catch any spilled oil.
Now, take hold of the filter and twist it counterclockwise until it comes loose from the housing. Be careful when removing it as there will still be some oil left inside of it. Once you have removed the filter, dispose of it properly and then clean out any debris or old oil from inside the housing before installing the new filter.
To install the new filter, simply screw it into place (turning clockwise) until it’s snug against the housing – don’t over-tighten! Finally replace the black cap by screwing it back on (again turning clockwise). That’s all there is to changing your Tundra’s oilfilter – easy peasy!
How to Remove Motorcycle Oil Filter Without Tool
If you’re like most motorcycle riders, you probably change your own oil. It’s not difficult, and it can save you a lot of money. But there is one part of the process that can be a little tricky: removing the oil filter without a tool.
The oil filter is located under the engine, near the bottom of the bike. To remove it, you’ll need to get a wrench or socket that fits snugly around the base of the filter. Once you have the right size wrench or socket, simply turn it counterclockwise until the filter comes loose.
Be careful when removing the filter, as there may be some hot oil inside. Also, make sure to dispose of used filters properly; many auto parts stores will accept them for recycling.
Credit: www.vehiclescene.com
How Do You Remove an Oil Filter Without an Oil Wrench?
If you don’t have an oil wrench, there are a few different ways that you can remove an oil filter. One way is to use a pair of pliers. Put the pliers on the end of the filter and twist it off.
Another way is to take a hammer and hit the end of the filter until it comes loose. You can also try using a screwdriver to pry the filter off.
Can You Remove an Oil Filter With Your Hand?
If you need to remove an oil filter and don’t have a filter wrench on hand, there are a few ways you can do it with just your hands. The method you’ll need to use depends on the type of oil filter you have.
Cartridge oil filters can often be removed by hand.Grasp the filter housing in one hand and twist the cartridge counterclockwise with the other until it comes loose. Some cartridge filters have a tab that must be depressed before twisting to release the filter. If your filter has this tab, make sure to depress it before attempting to remove the filter.
Canister oil filters usually require a little more effort to remove by hand. Start by unscrewing the metal cap at the end of the canister (the part that faces out when installed). Once the cap is removed, you should be able to see the center nut holding the canister in place.
Place one hand on either side of the canister and twist the nut counterclockwise with both hands until it comes loose. The canister should then pull away from the engine, revealing the paper element inside. Grasp this element and pull it out of the canister – be careful not to tear it!
– and then discard everything.
Can You Use Pliers to Remove Oil Filter?
You can use pliers to remove an oil filter, but it’s not always the best option. If you’re using a metal oil filter, be careful not to damage the housing. If you’re using a paper oil filter, be sure not to rip or tear the filter.
Do You Need a Wrench to Change Oil Filter?
If you’re changing your own oil, you’ll need a few tools including a wrench to remove the oil filter. The size of the wrench you’ll need depends on the size of the oil filter. You can usually find this information in your car’s owner’s manual or on the side of the oil filter.
Once you have the right size wrench, simply place it on the oil filter and turn it counterclockwise to loosen and remove it.
How to remove your oil filter without a oil filter wrench
Conclusion
If you’re wondering how to change an oil filter without a wrench, don’t worry—it’s actually quite simple. All you need is a pair of pliers and a little bit of elbow grease.
First, locate the oil filter on your vehicle.
It will be located near the engine, and will look like a small canister with a metal cap.
Next, use the pliers to loosen the cap on the oil filter. Be sure to turn it counterclockwise so that you don’t damage the threads.
Once the cap is loose, remove it completely and set it aside.
Now, take a look at the inside of the oil filter housing. You’ll see that there’s a rubber gasket sealing off the opening.
Carefully remove this gasket and discard it—you won’t need it anymore.
With the gasket out of the way, you should now be able to pull out the old oil filter from its housing. Once it’s out, dispose of it properly (check with your local auto parts store for more information on how to do this).
Now all that’s left to do is install the new oil filter in its place. Be sure to put some fresh motor oil on the rubber gasket before screwing on the newfilter; this will help create a better seal and prevent leaks downthe road. And that’s all there is to changing an oil filter withouta wrench!